

Getting Started with NXLog Support Service Desk
The purpose of this guide is to help our customers quickly set up user accounts for their team members so they can submit support requests on behalf of their company. As a prerequisite, the customer should have an active support license.
The following terms are used to describe the steps that must be followed from each site:
- SSD: NXLog Support Service Desk
- WEBSITE: NXLog Portal
Table of Contents
- Section 1: Introduction to our Support Service Desk (SSD)
- Section 2: Account Setup for Customer Global Admin role (WEBSITE)
- Section 3: Invite Team Members (WEBSITE)
- Section 4: Adjust Permissions for Team Members (WEBSITE)
- Section 5: Remove Team Members (WEBSITE)
- Section 6: Logging In (SSD)
- Section 7: Navigating Through Options (SSD)
- Section 8: Raise a Request (SSD)
- Section 8.1: Technical Support (SSD)
- Section 8.2: Suggest Improvement (SSD)
- Section 9: Appendices
Section 1: Introduction to our Support Service Desk (SSD)
NXLog Support Service Desk is a cloud-based service, which you can access it using any modern web browser such as Google Chrome, Mozilla Firefox, Microsoft Edge, or Safari.
By utilizing our support ticketing system, we can better track and prioritize your requests, ensuring prompt and accurate assistance. This will also allow us to maintain a comprehensive record of our interactions, making it easier for both parties to reference previous conversations.
Section 2: Account Setup for Customer Global Admin role (WEBSITE)
To begin using our support ticketing system, existing or new users must go through the email verification process first in order to proceed with next steps. Once the registration process is completed from the sign-up page, the user acting as the employee of the company, should make a Website Admin Request using the Contact Us form providing details of the person (email address, username, name and company) that is going to act as the Customer Global Admin role which will have the rights to manage team members within the company.
Steps
1. For existing users:
1.1 Visit our web page at nxlog.co
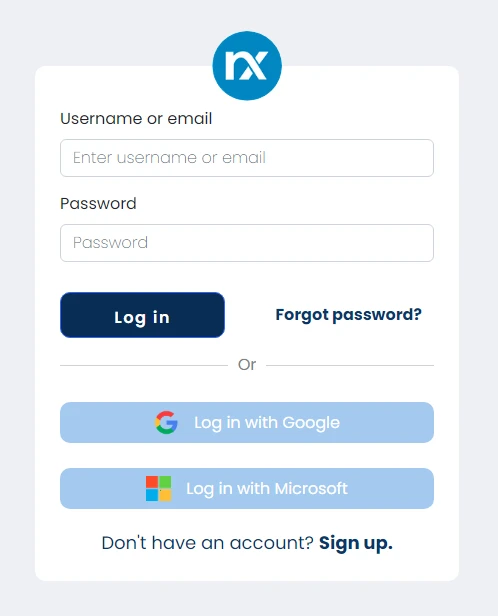
1.2 Click on the Log In option

1.3 Fill out the form providing the credentials (Username or email, and Password) and press the Log in button
1.4 Click on the Account settings option, available from the top right menu, below your avatar:

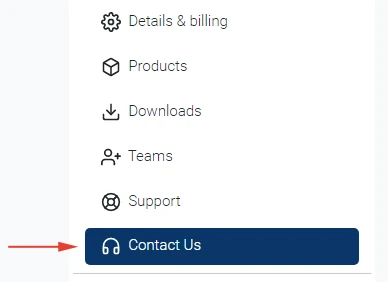
1.5 Click on the Contact Us option, available from the left menu:
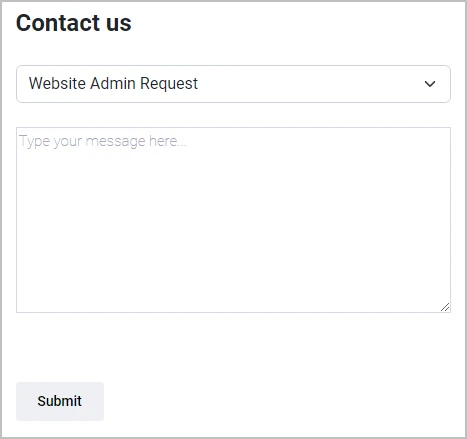
1.6 Select Website Admin Request subject from the drop-down list and provide details of the person (email address, username, name and company) that is going to act as the Customer Global Admin role which will have the rights to manage team members within the company. When finished, press the Submit button.
1.7 Once your request is processed, you will receive an email notification.
1.8 From this moment you can start sending invitations to include other colleagues to be part of your team and assign the appropriate role so they can open support requests.

2.3 Fill out the form providing Username, Business Email and two-digit number for verification, then press the Start Registration button
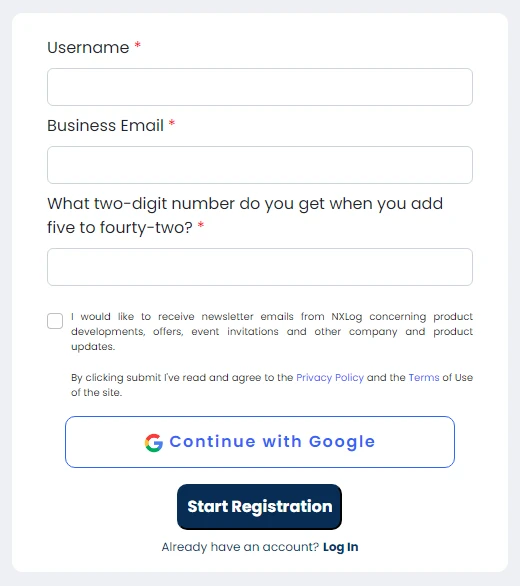
2.4 You will receive an email with all instructions to complete the registration process.
2.5 Proceed to follow the steps indicated for existing users.
Section 3: Invite Team Members (WEBSITE)
The process of granting permissions to new team members can be done by the company independently. Users who have rights to manage team members within the company (Customer Global Admin) can send invites and allow other colleagues to act as Global or/and Support Admin. Customer Support Admin role provides rights to access the ticketing system and thus raise support requests. Invites can be sent from the Profile > Teams section. Create/invite the user and provide the corresponding accesses.
SECURITY GUIDELINES FOR ASSIGNING ROLES
Each admin role maps to common business functions and gives people in your organization permissions to do specific tasks in the admin centers.
- Have 2 to 4 global admins: Because only another global admin can reset a global admin's password, we recommend that you have at least 2 global admins in your organization in case of account lockout.
- Assign the least permissive role: Assigning the least permissive role means giving admins only the access they need to get the job done.
Steps
1. Visit our web page at nxlog.co
2. Click on the Log In option
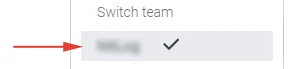
3. Switch to the team from which you will send the invite. This option is available from the top right menu, below your avatar:
4. Team members will be listed:
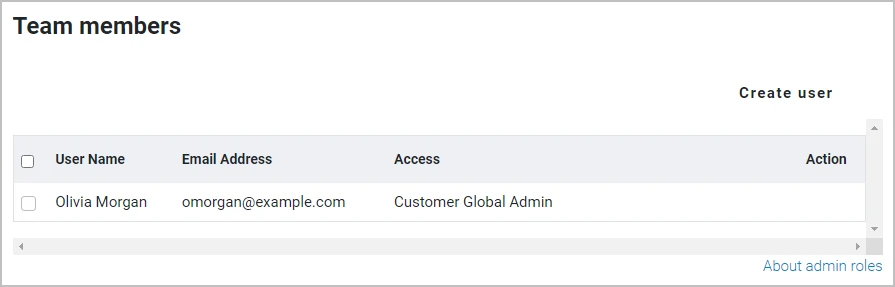
5. Click on the Create user link
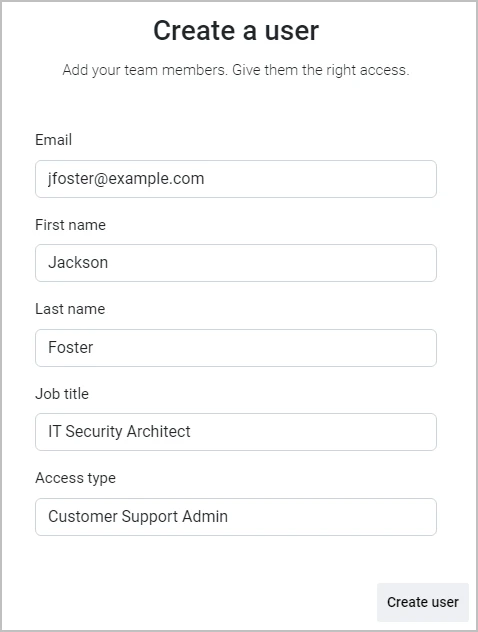
6. Fill out the form providing Email, First name, Last name, Job title and Access type, then press the Create user button
7. New user will appear in the list:
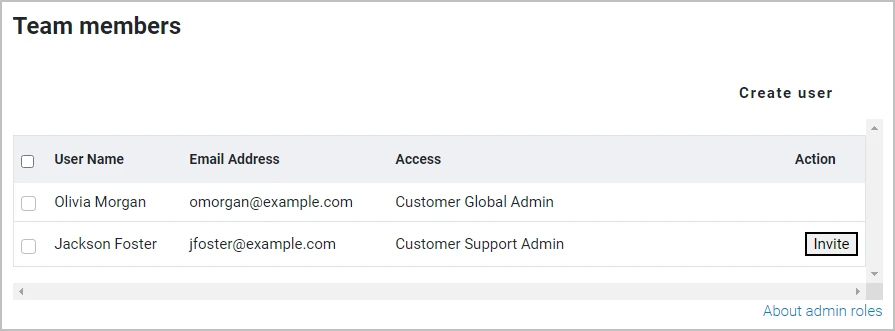
8. Click on the Invite button associated with the user.
9. A new form will be displayed with all the data previously provided.

10. Click on the Invite a user button.
11. User will receive an email with all instructions to complete the registration process.
Section 4: Adjust Permissions for Team Members (WEBSITE)
Users who have rights to manage team members within the company (Customer Global Admin) can make changes to permissions granted to team members.
Steps
1. Select the team members you will like to modify.
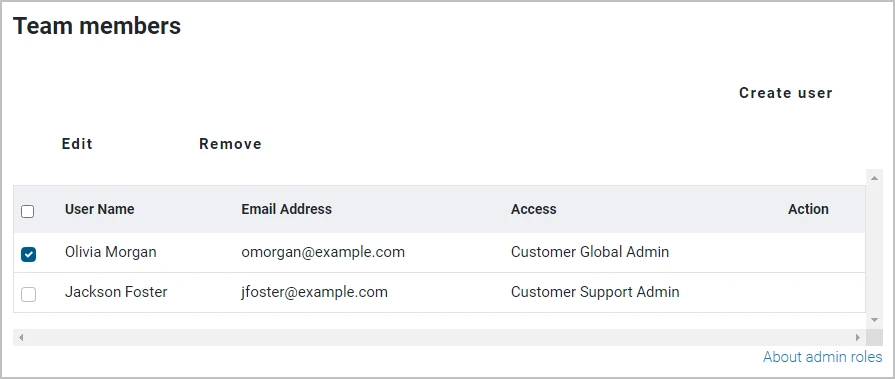
2. Click on the Edit button.
3. Select the access type for selected contacts.

4. Click on the Update button.
5. You will receive an email notification with the role set.
6. New changed applied will be displayed in the list:
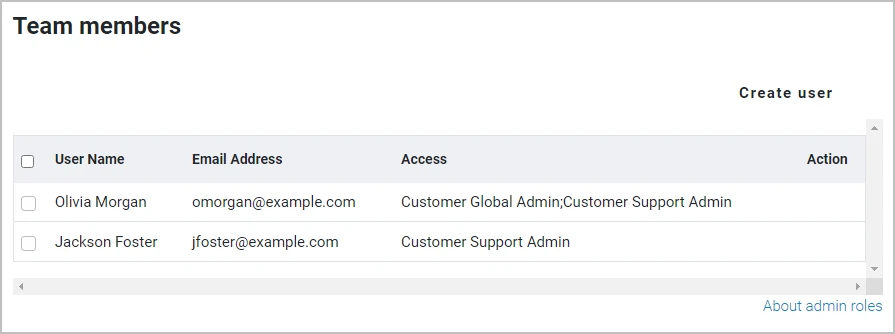
Roles. One or more access type can be provided to a user.
- Customer Global Admin: Rights to manage team members of the company.
Note: This role does not include the capability to raise support request. If needed, please also add the Customer Support Admin role. - Customer Support Admin: Rights to access service desk and raise support requests.
Section 5: Remove Team Members (WEBSITE)
Users who have rights to manage team members within the company (Customer Global Admin) can remove users from their teams.
Steps
1. Select the team members you will like to remove.
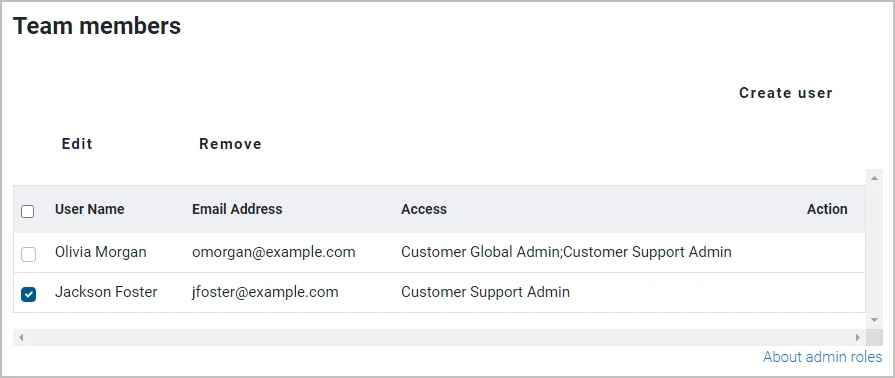
2. Click on the Remove button.
3. Upon approving the request, user will be removed.
Section 6: Logging In (SSD)
When logging into the service desk for the first time, please ask for a password reset.
Steps
1. Open the service desk page at https://nxlog.co/support-tickets.
2. Enter your email address (that you registered with on the NXLog portal).
3. On the next dialog, select Forgot password? for the recovery link.
4. Once you used it to set a new password, you will be able to log in with it to the service desk.
Section 7: Navigating Through Options (SSD)
Below are the options available from the main screen.
Sections
- Requests: List all the requests created by you and other colleagues.
- Search for KB Articles: Search for knowledge-based articles based on customer issues.
- KB Articles Categories: Read knowledge-based articles based on various categories.
- Raise a Request: Open support requests. Don’t forget to regularly check your support request queue to stay informed and monitor the progress of any ongoing issues.

Section 8: Raise a Request (SSD)
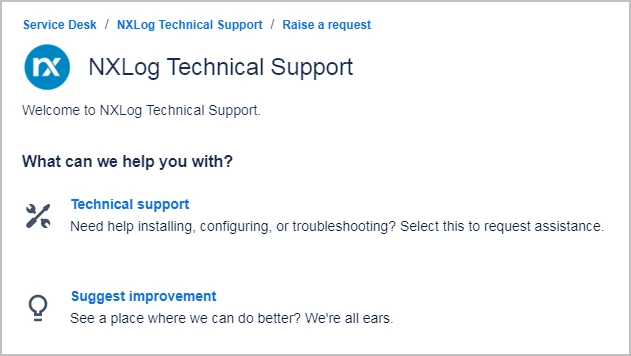
You can create two (2) types of requests:
- Technical Support: Need help installing, configuring, or troubleshooting? Select this to request assistance.
- Suggest Improvements: See a place where we can do better? We're all ears.
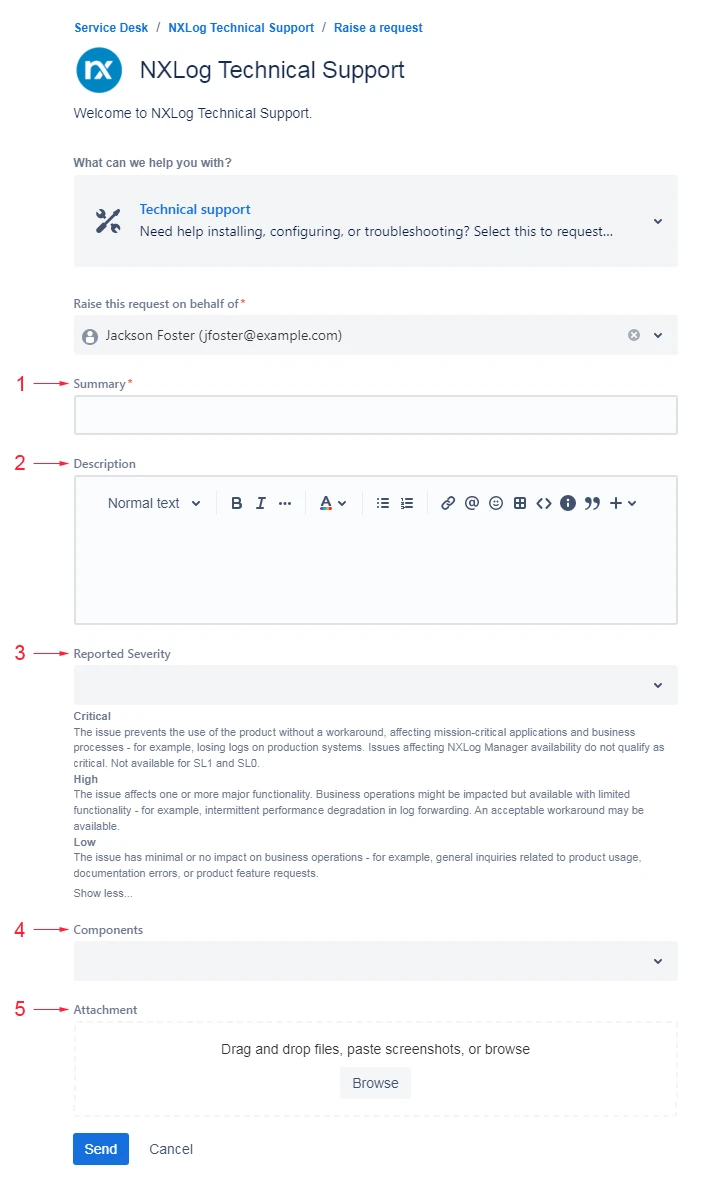
Section 8.1: Technical Support (SSD)
Sections
- Summary: Quick overview of the problem.
- Description: Detailed description of the request, including environment description, product version used, sample logs, among other relevant details.
- Reported Severity: Urgency and importance of the request. Categorized by the following severity levels: Critical, High, Low. Incidents reported without a severity level are treated as Low by default.
- Components: Impacted product: NXLog EE, NXLog Manager, NXLog Minder or Raijin.
- Attachment: Configuration files, samples logs, screenshots, or documents that provide additional context or evidence related to the issue.
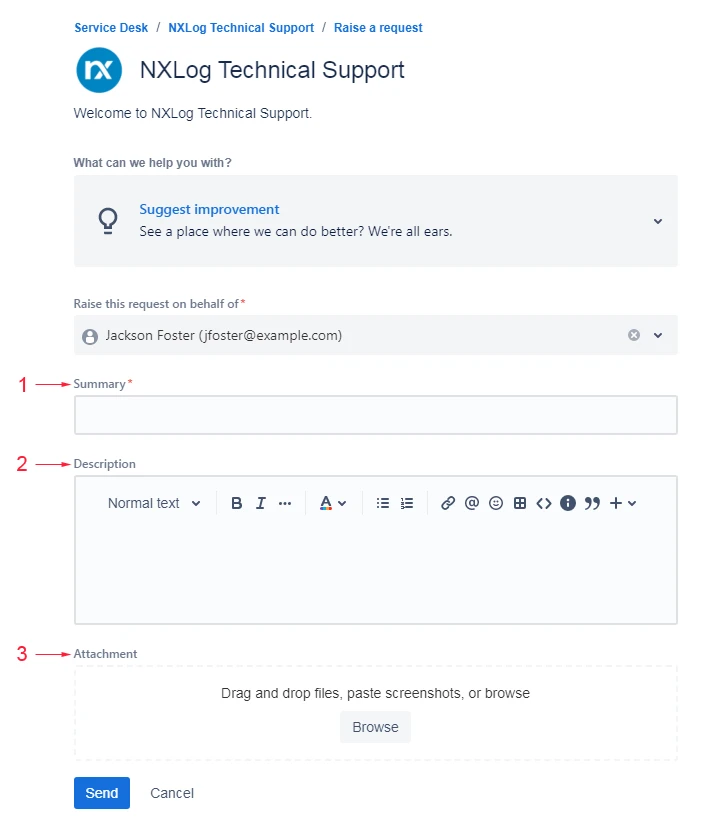
Section 8.2: Suggest Improvement (SSD)
Sections
- Summary: Quick overview of the improvement or feature request.
- Description: Detailed explanation of the improvement or feature being suggested.
- Attachment: Any relevant documents, mockups, or images.
Section 9: Appendices
- Register: Sign Up
- Open Tickets: https://nxlog.co/support-tickets/add/support-ticket
- Teams section: https://nxlog.co/company/teams
- What's new in the profile page: What's new in the Profile Page?
- 4. PROVISION OF TECHNICAL SUPPORT SERVICES
Follow us
© Copyright NXLog Ltd.